
When a FireWire device suddenly stops responding and your data recovery timeline is shrinking, you need tools that cut through the noise. The Linux command line offers a precise set of utilities for diagnosing IEEE 1394 hardware faults. Whether you are pulling evidence from a legacy drive or maintaining an audio production rig, these five commands will help you isolate the problem and get back to work.
Five Linux commands form the backbone of FireWire hardware diagnostics: lsusb, lspci, dmesg, udevadm, and journalctl. Used together, they reveal whether the kernel sees your device, if the correct drivers are loaded, and where communication breaks down. This guide walks through each command with real examples relevant to forensic and legacy hardware scenarios.
Start with lsusb and lspci to Confirm Hardware Detection
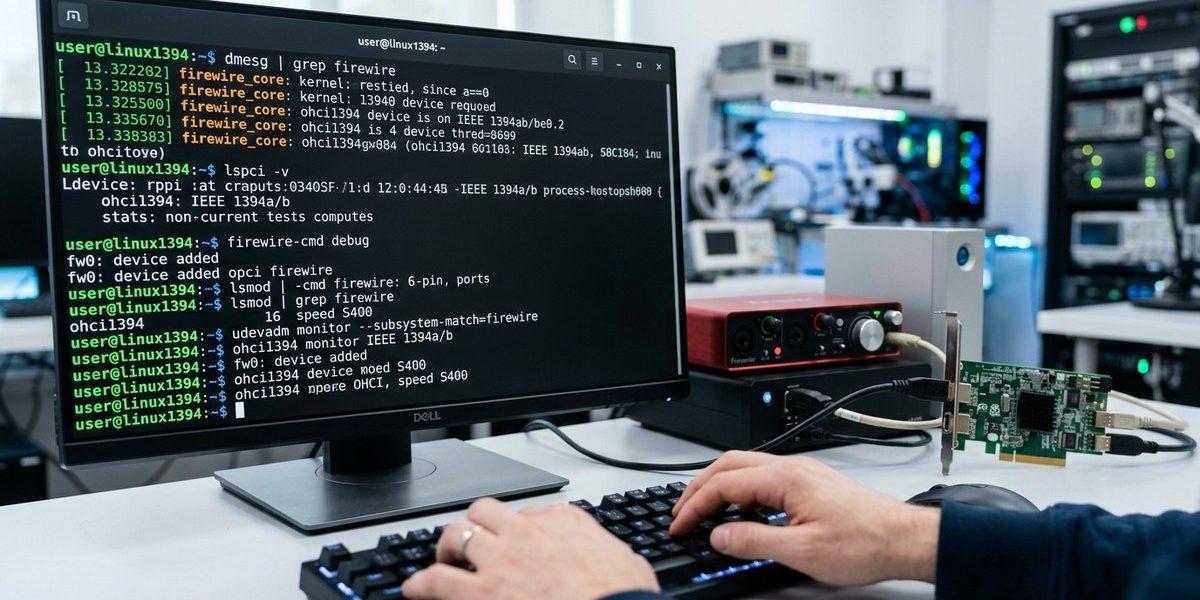
Before you assume a driver problem, verify that Linux detects the FireWire controller itself. Many FireWire interfaces connect through a PCIe or ExpressCard adapter. The lspci command lists all PCI devices on your system.
Run this:
lspci | grep -i firewire
You should see output like:
04:00.0 FireWire (IEEE 1394) [0c00]: VIA VT6315 FireWire Controller
If nothing appears, check for a generic “1394” entry:
lspci | grep -i "1394"
When the controller shows up but your device does not, the issue lives further up the stack. If the controller is missing entirely, reseat the adapter or test it in another machine.
For USB based FireWire adapters (rare, but they exist), use lsusb:
lsusb | grep -i firewire
The output will show the vendor and product ID. Write those IDs down. You will need them later when checking driver support.
A missing controller entry usually points to a hardware failure or a loose connection. Try the adapter in a different PCIe slot before moving to software diagnostics.
Check Kernel Messages with dmesg
The dmesg command prints kernel ring buffer messages. This is your best friend when a FireWire device connects but does not work as expected.
Run it with a filter:
dmesg | grep -i firewire
You might see lines like:
[ 1234.567890] firewire: Created fw0 GUID 001a2b3c4d5e6f7a
[ 1234.567901] firewire: Device connected, node ID 0
[ 1235.000123] firewire: S100 speed negotiated
If the kernel prints “Device connected” but the device never shows up in /dev, the driver loaded correctly but the filesystem layer failed. That is common with older hard drives that have bad sectors on the first block.
Look for error messages too:
dmesg | grep -i "1394"
Error patterns to watch for:
- “firewire: DMA transfer failed” points to a cable or controller issue.
- “firewire: bus reset” repeated many times suggests a power problem.
- “firewire: no response from device” means the device is powered but not communicating.
Use dmesg -T to show timestamps in human readable format. That helps correlate events with when you plugged in the cable.
Watch Device Events with udevadm
The udevadm tool monitors device events in real time. It shows you exactly what happens when you plug in a FireWire device.
Open a terminal and run:
udevadm monitor --property
Then connect your FireWire device. You will see a stream of events:
UDEV [12345.678901] add /devices/pci0000:00/.../firewire/fw0 (firewire)
Pay attention to the “ACTION” field. An “add” event followed by a “remove” event means the device connects and disconnects instantly. That is a classic symptom of a failing power supply or a loose cable.
You can also query the current state of a known device path:
udevadm info --query=all --name=/dev/fw0
This shows symlinks, driver assignments, and custom udev rules that apply. If your device gets a generic name but you expected a persistent symlink, check your udev rules. For guidance on setting up persistent names, see our guide on how to configure udev for persistent firewire device names on linux.
A common mistake is assuming udev rules reload automatically. After editing rules, run:
udevadm control --reload-rules
Then unplug and replug the device.
Scan the Journal with journalctl
Systemd based distributions store all kernel and service logs in the journal. The journalctl command gives you a more complete picture than dmesg alone.
To see FireWire related messages from the current boot:
journalctl -b 0 --grep=firewire
For a broader search that includes older boots:
journalctl --grep="1394\|firewire" --since "2 days ago"
This is especially useful in forensic scenarios where you need to prove when a device was connected. The journal records timestamps with microsecond precision.
You can also filter by priority to see only errors:
journalctl -p err --grep=firewire
If the journal shows repeated “kernel: firewire: fw0: device timed out” messages, your FireWire cable is likely damaged. Replace it with a certified IEEE 1394 cable rated for 800 Mbps.
One edge case: some systems run without a persistent journal. If your /var/log/journal directory is missing, logs only exist for the current session. Add Storage=persistent to /etc/systemd/journald.conf and restart the service to keep logs across reboots.
Test Raw Access with dd and sg_utils
When the device appears in /dev but you cannot mount it, use dd to test raw read access. This bypasses the filesystem and talks directly to the hardware.
First, identify the device node:
ls -la /dev/fw*
Then read a small block:
dd if=/dev/fw0 of=/dev/null bs=512 count=10
If this command completes without errors, the hardware path works. If it hangs or returns “Input/output error”, the device has a physical issue.
For more advanced diagnostics, install sg_utils:
sudo apt install sg_utils
Then run:
sg_dd if=/dev/fw0 bs=512 count=10
The sg_dd tool provides better error reporting than standard dd. It shows the exact byte offset where a read fails.
Here is a reference table for interpreting common diagnostic outcomes:
| Symptom | Likely Cause | Next Step |
|---|---|---|
| Controller not in lspci | Loose card or dead slot | Reseat adapter or test on another system |
| Controller detected, device missing in dmesg | Cable or power issue | Replace cable, check external power supply |
| Device connects and disconnects repeatedly | Faulty port or underpowered bus | Use a powered hub or try a different port |
| Device shows in /dev but dd fails | Bad sectors or damaged controller board | Attempt recovery with ddrescue |
| journalctl shows DMA timeouts | Interference or cable length too long | Use a shorter, shielded FireWire cable |
Build a Diagnostic Workflow
Now that you know the commands, use them in a structured order. This saves time and prevents chasing ghosts.
- Run
lspci | grep -i firewireto confirm the controller is present. If not, stop here and fix the hardware. - Run
dmesg -win one terminal, then plug in the device. Watch for “Device connected” messages. - If the device appears in dmesg but not in
/dev, runudevadm monitor --propertywhile replugging to see if udev processes the event. - Use
journalctl -b 0 --grep=firewireto check for errors from the current boot. - Test raw access with
dd if=/dev/fw0 of=/dev/null bs=512 count=10.
This workflow works for forensic imaging, audio interface setup, and legacy hard drive recovery. For a deeper understanding of how the kernel handles these devices, read our article on optimizing linux kernel modules for enhanced hardware compatibility.
Common Pitfalls and How to Avoid Them
Even experienced sysadmins make these mistakes. Here are the most frequent ones:
- Forgetting to load the firewire kernel module. On some distributions, the module is not loaded by default. Run
sudo modprobe firewireand add it to/etc/modulesfor persistence. - Using the wrong cable. FireWire 400 (6 pin) and FireWire 800 (9 pin) cables look similar. A 9 pin cable on a 6 pin port will not seat properly.
- Ignoring power requirements. Many FireWire drives need external power. A bus powered laptop port may not deliver enough current.
- Assuming udev rules apply immediately. Always run
udevadm control --reload-rulesand replug the device.
For more details on resolving specific connection problems, check our guide on troubleshooting common linux firewire connectivity issues.
Put These Commands to Work
FireWire hardware diagnostics do not have to be a guessing game. With lspci, dmesg, udevadm, journalctl, and dd in your toolkit, you can isolate faults quickly and get back to the task at hand. Start with the controller check, work through the kernel messages, and test raw access before you try to mount anything.
The next time a FireWire device goes silent, run through this checklist. You will save hours of frustration and keep your data recovery or audio production workflow moving. For an even more thorough understanding of the protocol layer, take a look at understanding low-level firewire hardware communication on linux.